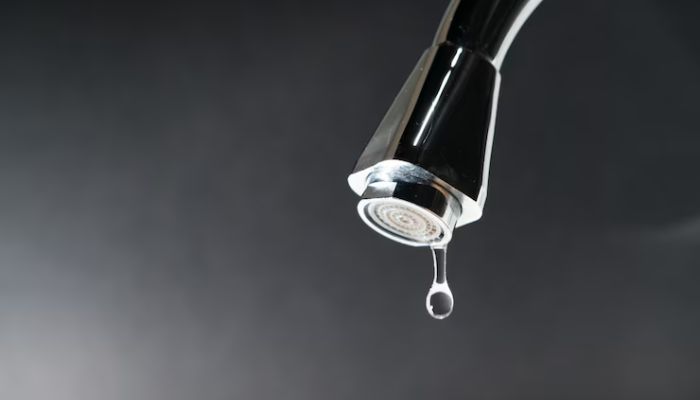
A leaking bathroom faucet might seem like a small issue, but every drip adds up—wasting water, increasing utility bills, and potentially causing damage over time. The good news? You don’t always need to call a plumber. With the right tools, a little know-how, and a step-by-step approach, you can fix most faucet leaks yourself in just a short time. In this guide, we’ll walk you through effective methods to identify the cause, carry out repairs, and prevent future leaks so you can save water, money, and hassle.
Tools and Materials You’ll Need to Stop Leaking Faucet
Before you start, gather the necessary tools and supplies to make the repair process smooth. You may need:
- Adjustable wrench
- Phillips and flathead screwdrivers
- Replacement washers or O-rings
- Replacement cartridge (if applicable)
- Plumber’s grease
- Plumber’s tape
- Bucket or towel (to catch any water drips)
Step-by-Step Guide to Fixing a Leaking Faucet
Step 1: Turn Off the Water Supply
Before you begin working on your faucet, turn off the water supply to prevent unnecessary messes. Look for the shutoff valves beneath the sink and turn them clockwise until they stop. If you can’t find them, turn off the main water supply to your home.
Step 2: Plug the Drain
To avoid losing small parts down the drain, place a plug or a towel over the sink’s drain hole. This precaution can save you frustration later on.
Step 3: Disassemble the Faucet
Using a screwdriver, remove the handle of the faucet. Most handles have a small screw beneath a decorative cap. Carefully pry off the cap and loosen the screw to lift off the handle.
Step 4: Inspect and Replace the Washer or O-Ring
Once you access the internal components, check the washer and O-ring. If you see signs of wear, cracks, or deformation, replace them with new ones of the same size. Apply plumber’s grease to the new components before reassembling.
Step 5: Check and Replace the Cartridge (If Applicable)
If your faucet uses a cartridge, pull it out carefully and inspect for damage. A cracked or worn-out cartridge should be replaced with an identical part. Install the new cartridge, ensuring it’s positioned correctly, then reassemble the faucet.
Step 6: Reassemble and Test
After replacing faulty components, put everything back together in reverse order. Turn the water supply back on and check for leaks. If the faucet is still dripping, you may need to reseat the components or tighten them properly.
Effective Tips For Preventing Future Faucet Leaks
Regular maintenance can help extend the life of your bathroom faucet and prevent future leaks. Consider the following tips:
1. Replace washers and O-rings periodically: Even if your faucet isn’t leaking, replacing worn parts before they fail can save you from unexpected repairs.
2. Avoid excessive force when turning off the faucet: Over-tightening can wear out internal components faster.
3. Clean your faucet regularly: Hard water deposits and debris can accelerate wear and tear.
4. Schedule professional inspections: If you’re planning a major bathroom remodeling, consulting experienced bathroom remodelers can help ensure that your plumbing fixtures are in excellent condition.
Fixing a dripping bathroom faucet is an achievable task that can save you money and water in the long run. By understanding the cause of the leak, using the right tools, and following a step-by-step approach, you can successfully stop your faucet from dripping. However, if the issue persists or you’re dealing with complex plumbing problems, don’t hesitate to seek professional help. Whether you’re repairing a leak or planning a full renovation, taking proactive steps can ensure a functional and efficient bathroom for years to come.
FAQs
1. What causes a bathroom faucet to start leaking?
A faucet leak is often caused by worn-out washers, damaged O-rings, corroded valve seats, or loose parts. Identifying the exact cause is the first step to fixing it.
2. How much water can a leaking faucet waste?
A slow drip can waste over 3,000 gallons of water per year, increasing both your water bill and environmental impact.
3. When should I call a plumber for a leaking faucet?
If the leak persists after you’ve tried DIY repairs or if the faucet has severe corrosion or internal damage, it’s best to call a licensed plumber.
2. Can I fix a leaking bathroom faucet myself?
Yes. Most leaks can be repaired at home using basic tools like a wrench, screwdriver, and replacement parts. Following a step-by-step guide ensures a safe, effective repair.


Recent Comments